.png?width=274&height=200&scale=canvas)


.png?width=500?width=274&height=200&scale=canvas)

.png?width=274&height=200&scale=canvas)


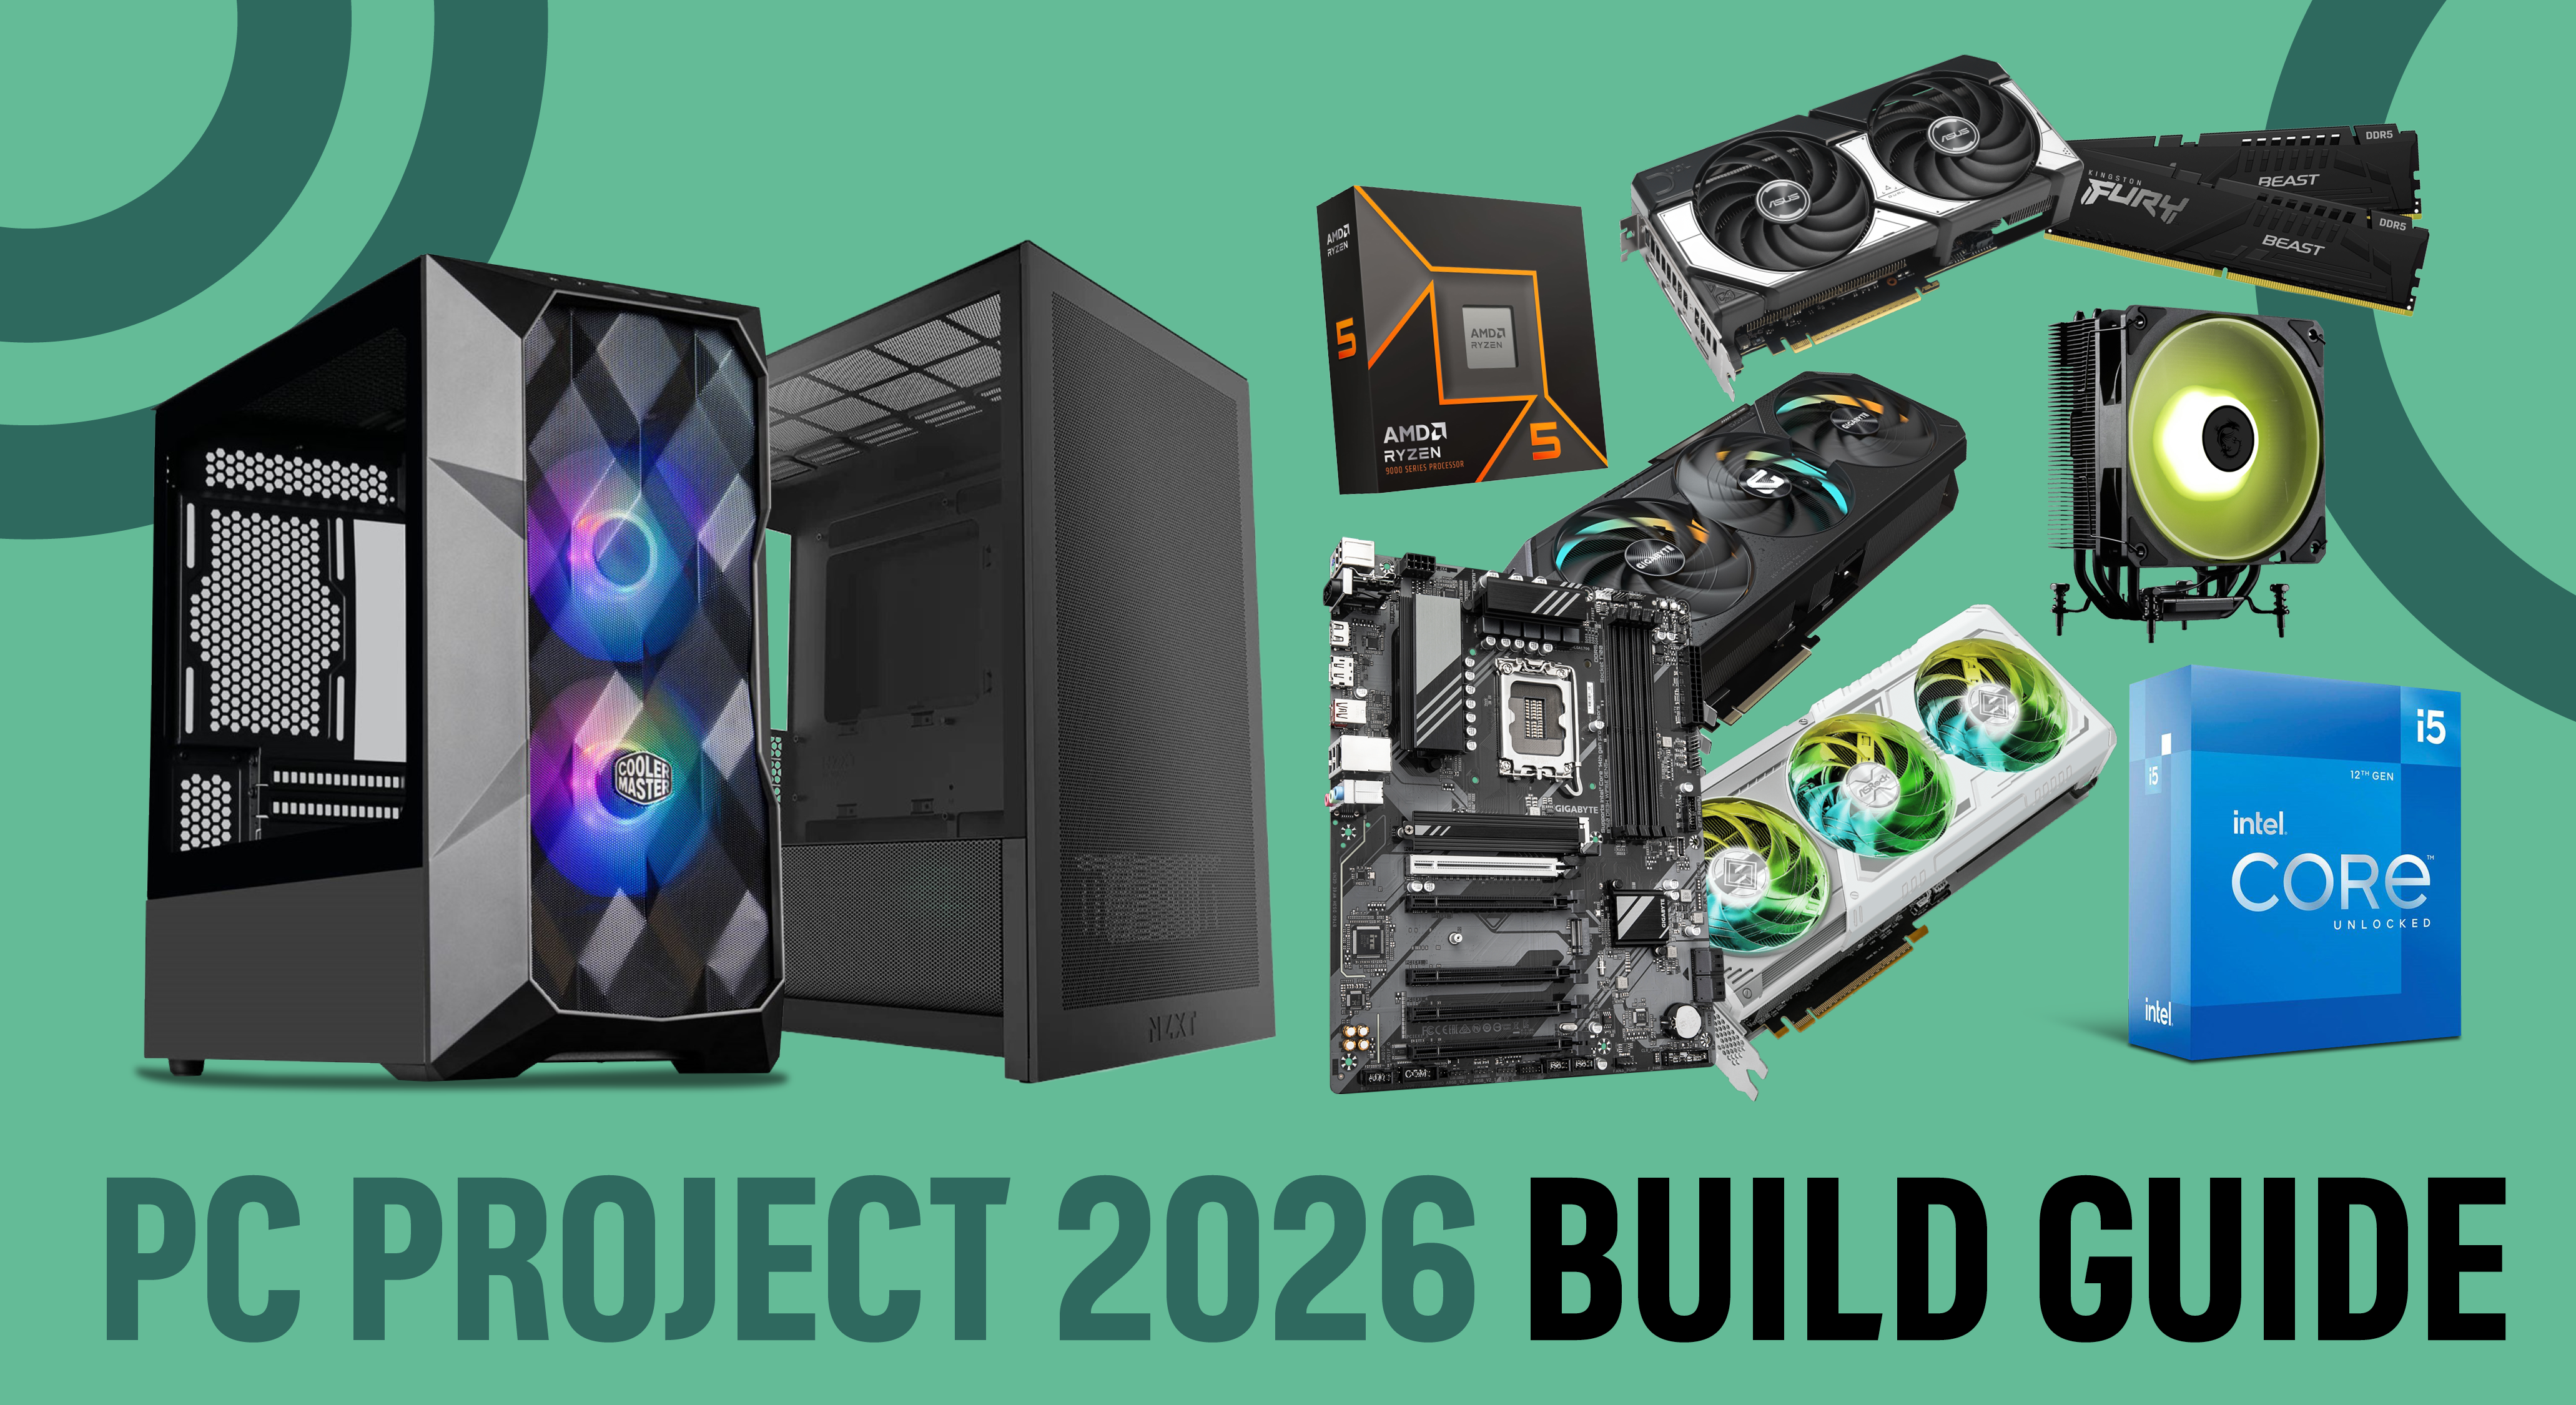
It's the start of 2026. You're looking for something new, something exciting, something to bring back the spark of excitement that comes with the holiday season but is lost once January rolls in. But it's too cold to go outside, so what can you actually do? Why not start building the gaming PC of your dreams?
Building a gaming PC might seem daunting at first, but not to worry, we're here to help. We're going to run through everything you'll need to build your first gaming PC. We've even simplified it with our motherboard bundles, so you can be sure the heart of your PC is top of the range and fully compatible!
Tools for the job
Before we get to the components, there are a few things you're going to need.
- Work Surface: For starters, be sure to use an anti-static mat or non-static surface for your workstation. That means preferably a hard top surface, especially if your case has a tempered glass panel, and no carpet. This protects your components from any static electricity interference.
- Anti-static wrist strap: Regarding static electricity, an anti-static wrist strap is a key piece of equipment for equalising the electrical potential between your body and sensitive PC components, such as RAM or CPUs, by dissipating any built-up charge. Make sure to put this on and ground it to a grounded metal object, such as a radiator or part of the computer chassis or power supply (PSU) that is plugged in but turned off.
- Manuals: All of your components should come with manuals and guides; keep them close by. Components can vary, and the last thing you want to do is install it incorrectly, so always be sure to read the instructions.
- Cable ties and wire cutters/scissors: Cable ties to … well, tie your cables together and keep your PC looking sleek and tidy. You will also need wire cutters or scissors (if you are strong enough) to cut the cable ties.
- Philips head screwdriver: There are going to be a lot of screws and screw sizes. A long Philips head screwdriver, preferably one that includes multiple interchangeable heads, or a tool kit like the iFixit kit or Sprotek repair kit, will be ideal.
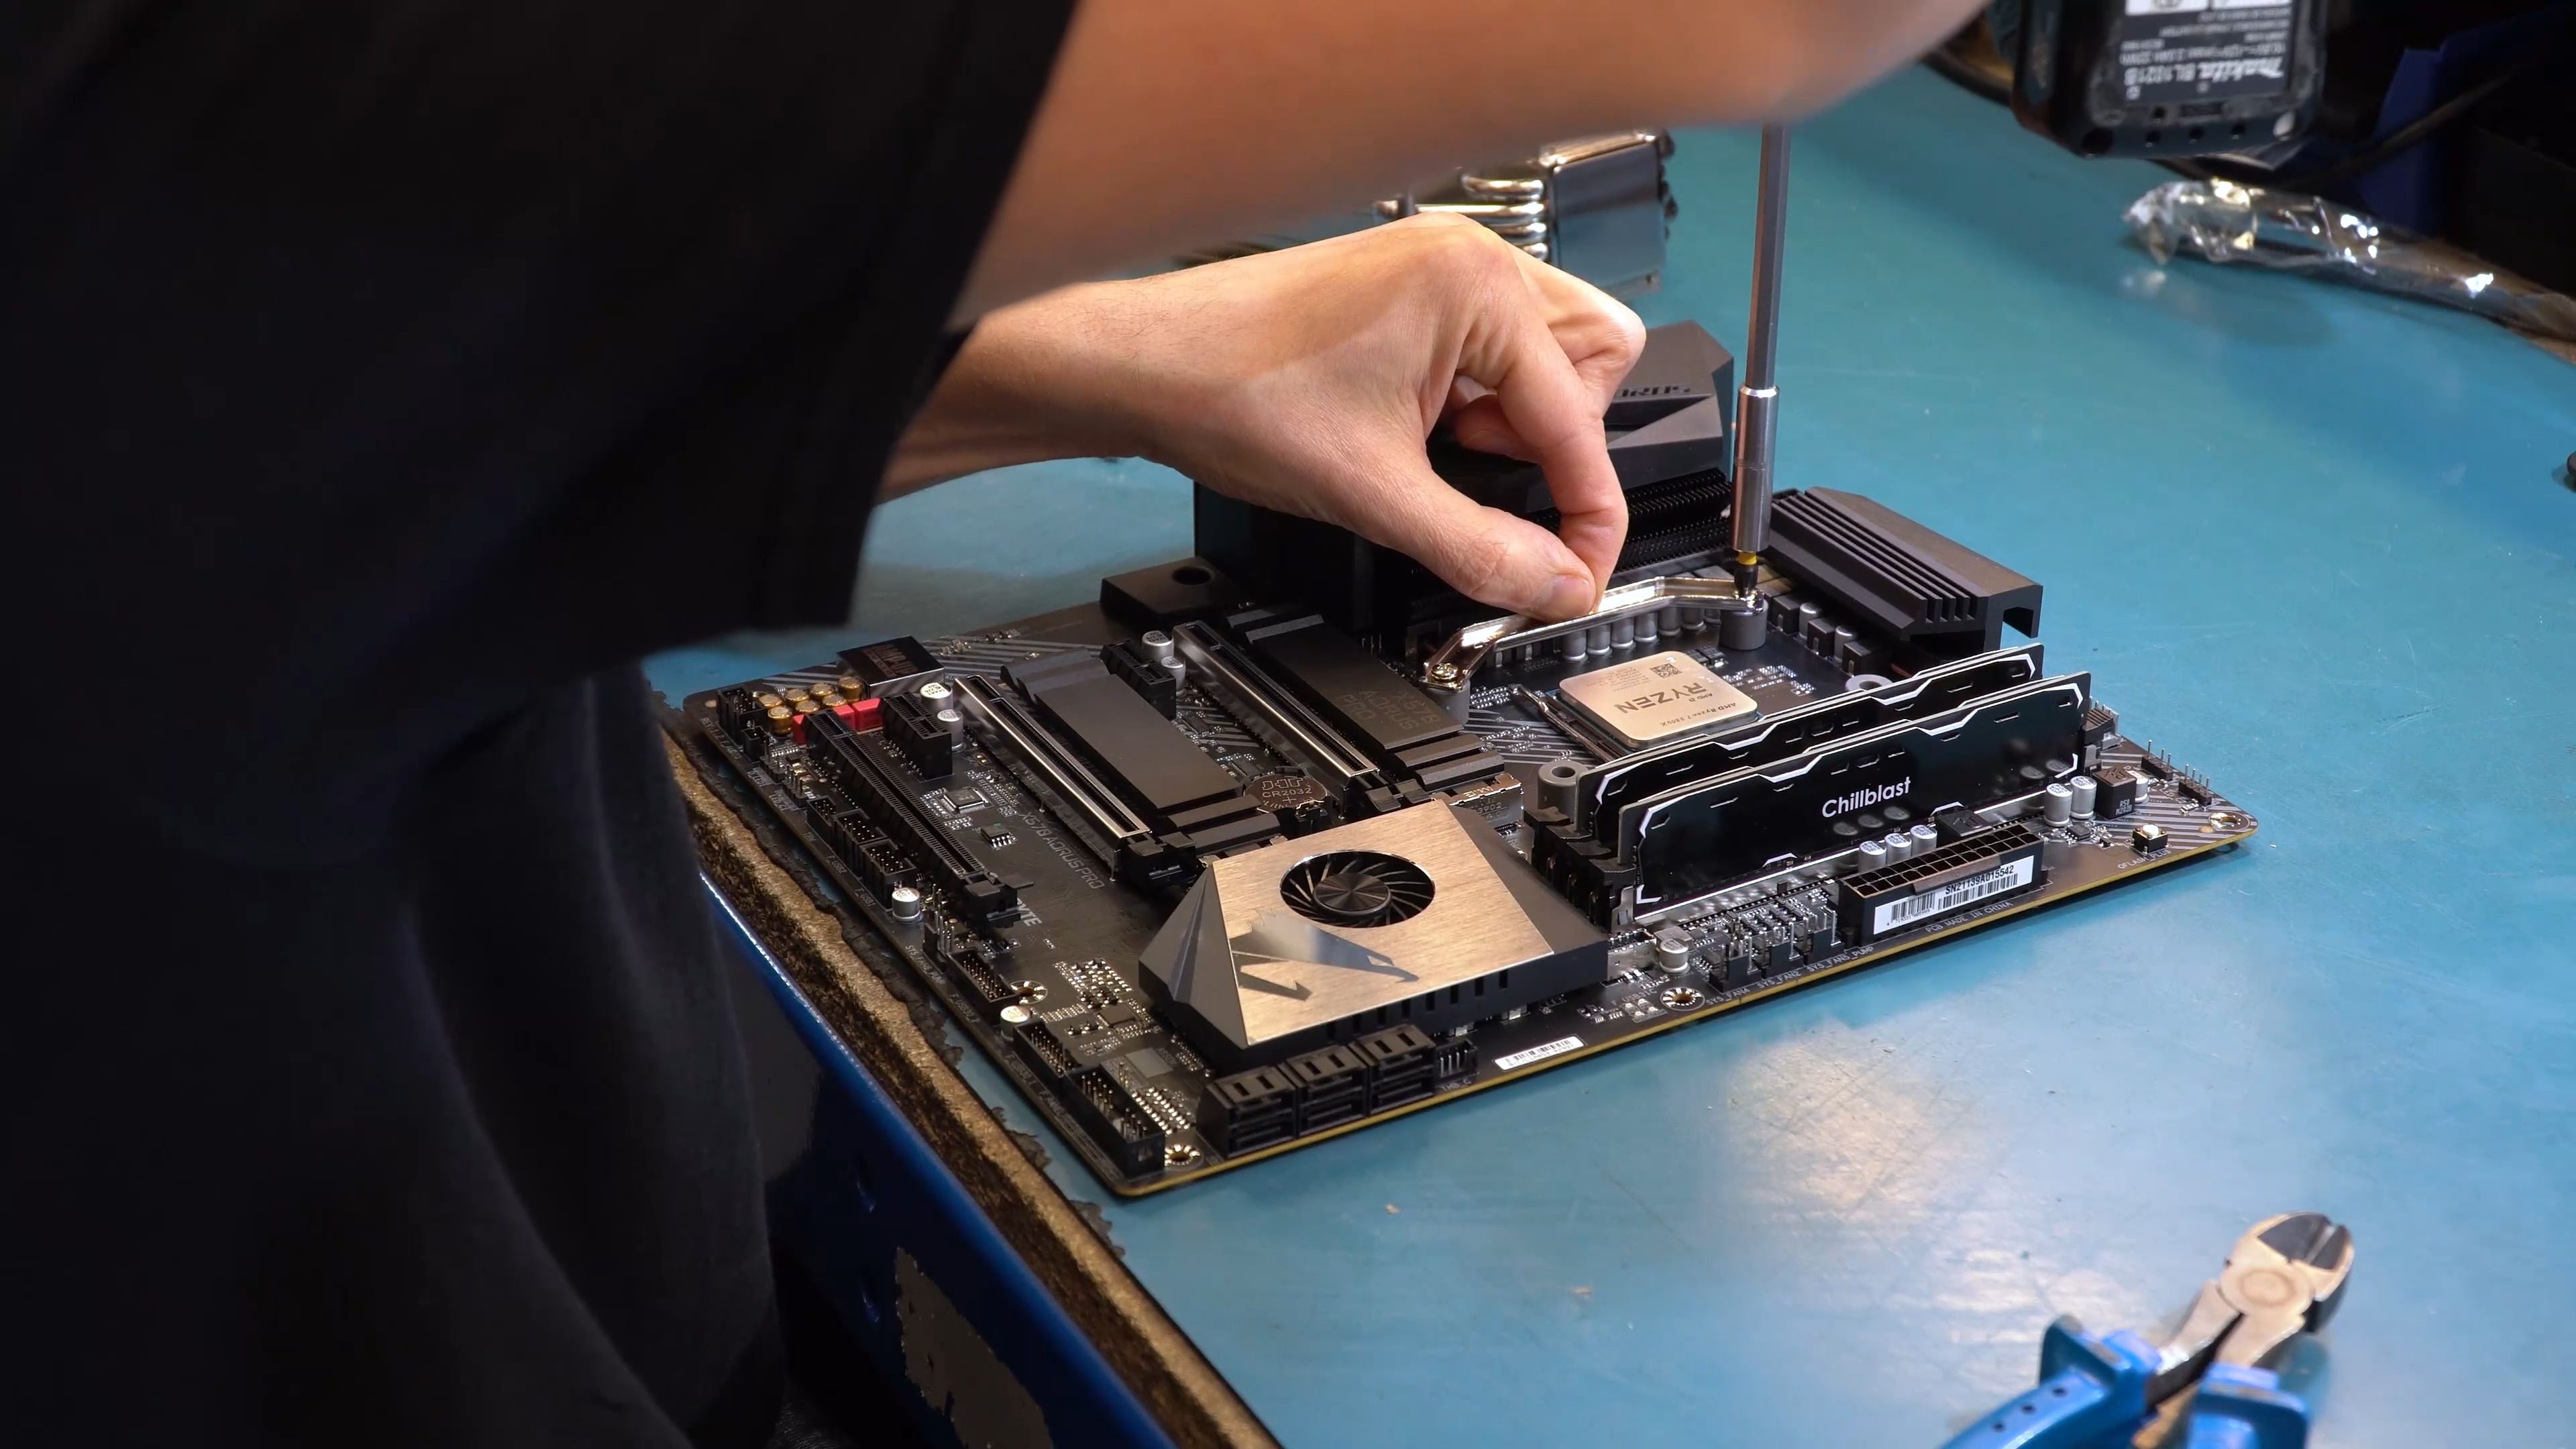
Step 1: The brains of the build
Every great PC begins with its core, made up of the motherboard, CPU, RAM, and CPU cooler. Like the Avengers, this team assembles first, and to save you from any combat with compatibility issues, we've curated a range of motherboard bundles to make taking the first step in building your PC extra simple.


Built and tested by us, these motherboard bundles pair compatible CPUs, motherboards, RAM and coolers, chosen to work efficiently together while guaranteeing a high-performance gaming setup. And to make things even easier, they come pre-assembled by our expert system build team, meaning all you need to do is put your motherboard inside your case!
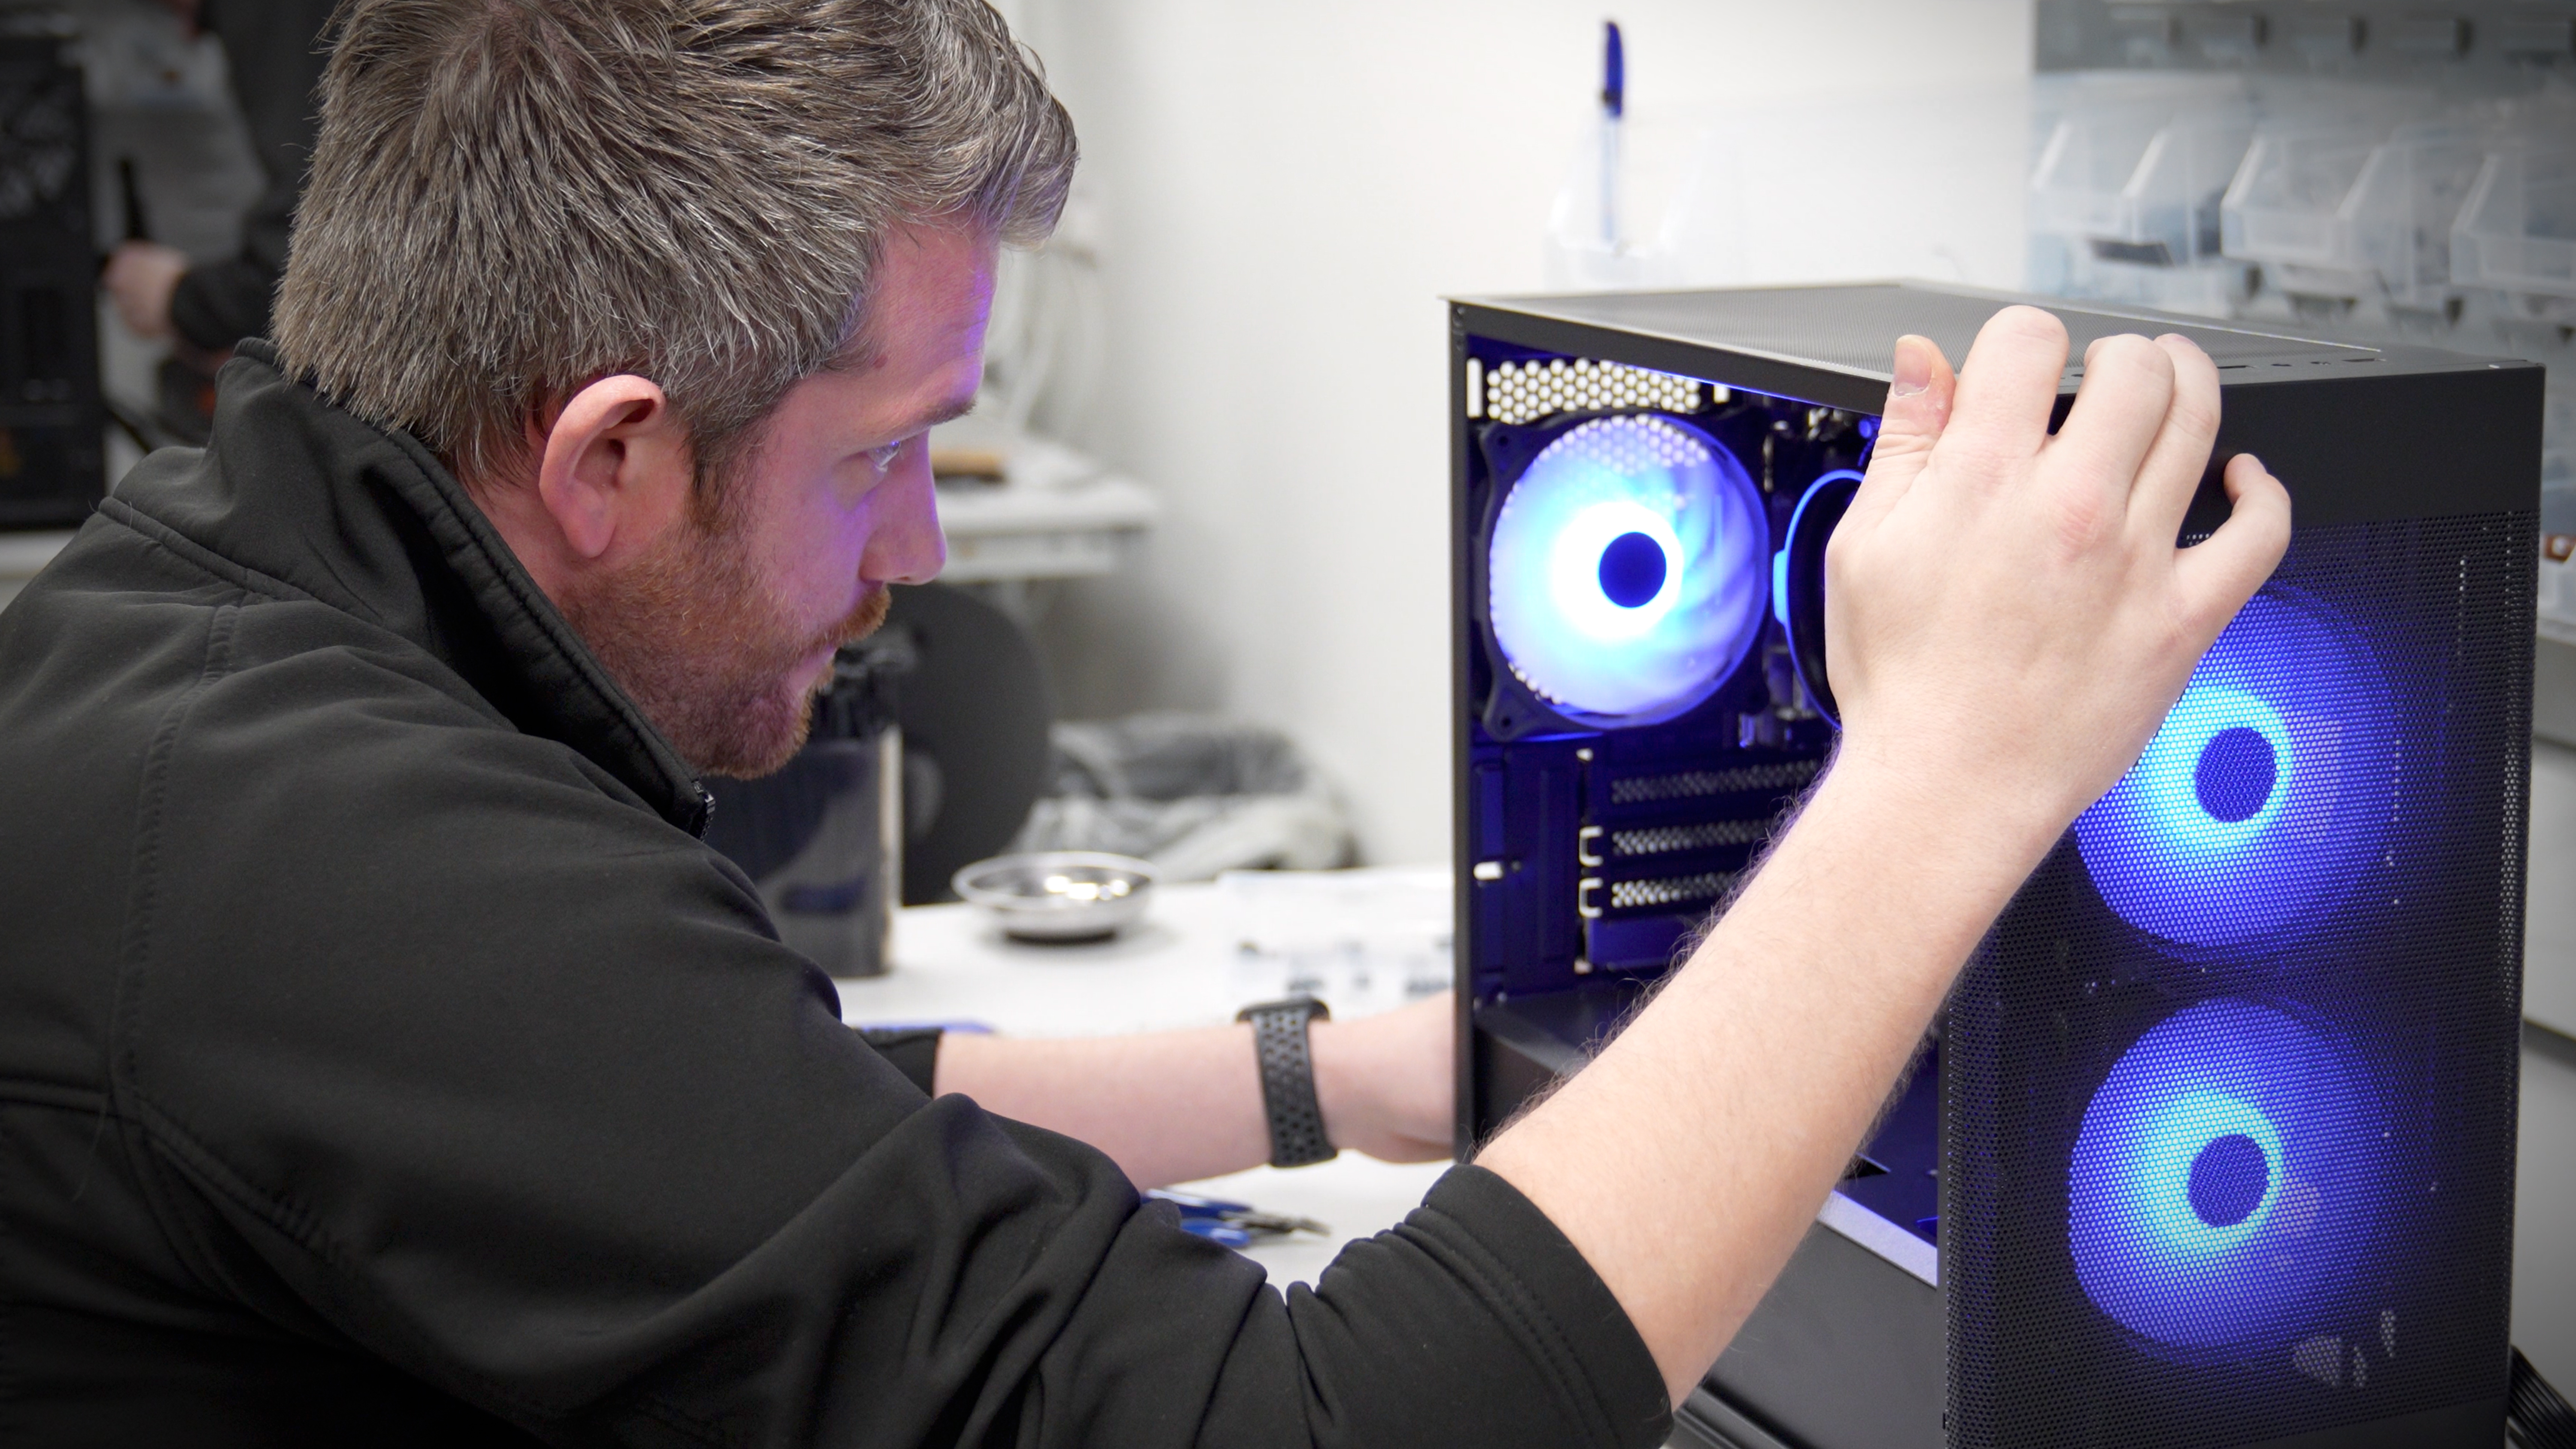
Step 2: Get your case ready
Before installing your motherboard, you'll want to make sure your case is ready for it. CCL has a great selection of cases, so if you're unsure which one to get, you'll definitely be able to find one that fits your style and setup.

To prepare your case, check to see if the standoffs inside the case match your motherboard. If they don't, your motherboard kit should come with some standoff screws. If the motherboard doesn't match the case, screw the screws into the corresponding holes in your case. You'll also need to install the I/O shield into the case's rear, if it's not pre-installed; it should just snap in, but read the manual to be certain.
Once that is done, lay the case down on its side and very gently place the motherboard down on the standoffs, ensuring the I/O panel on your case and the I/O panel on your motherboard align. This will ensure you can easily access all the necessary ports once your PC is complete. Once everything is aligned, you can screw the motherboard to the standoffs and arrange any cables that need to move around it for things like your fans or power supply.
.png)
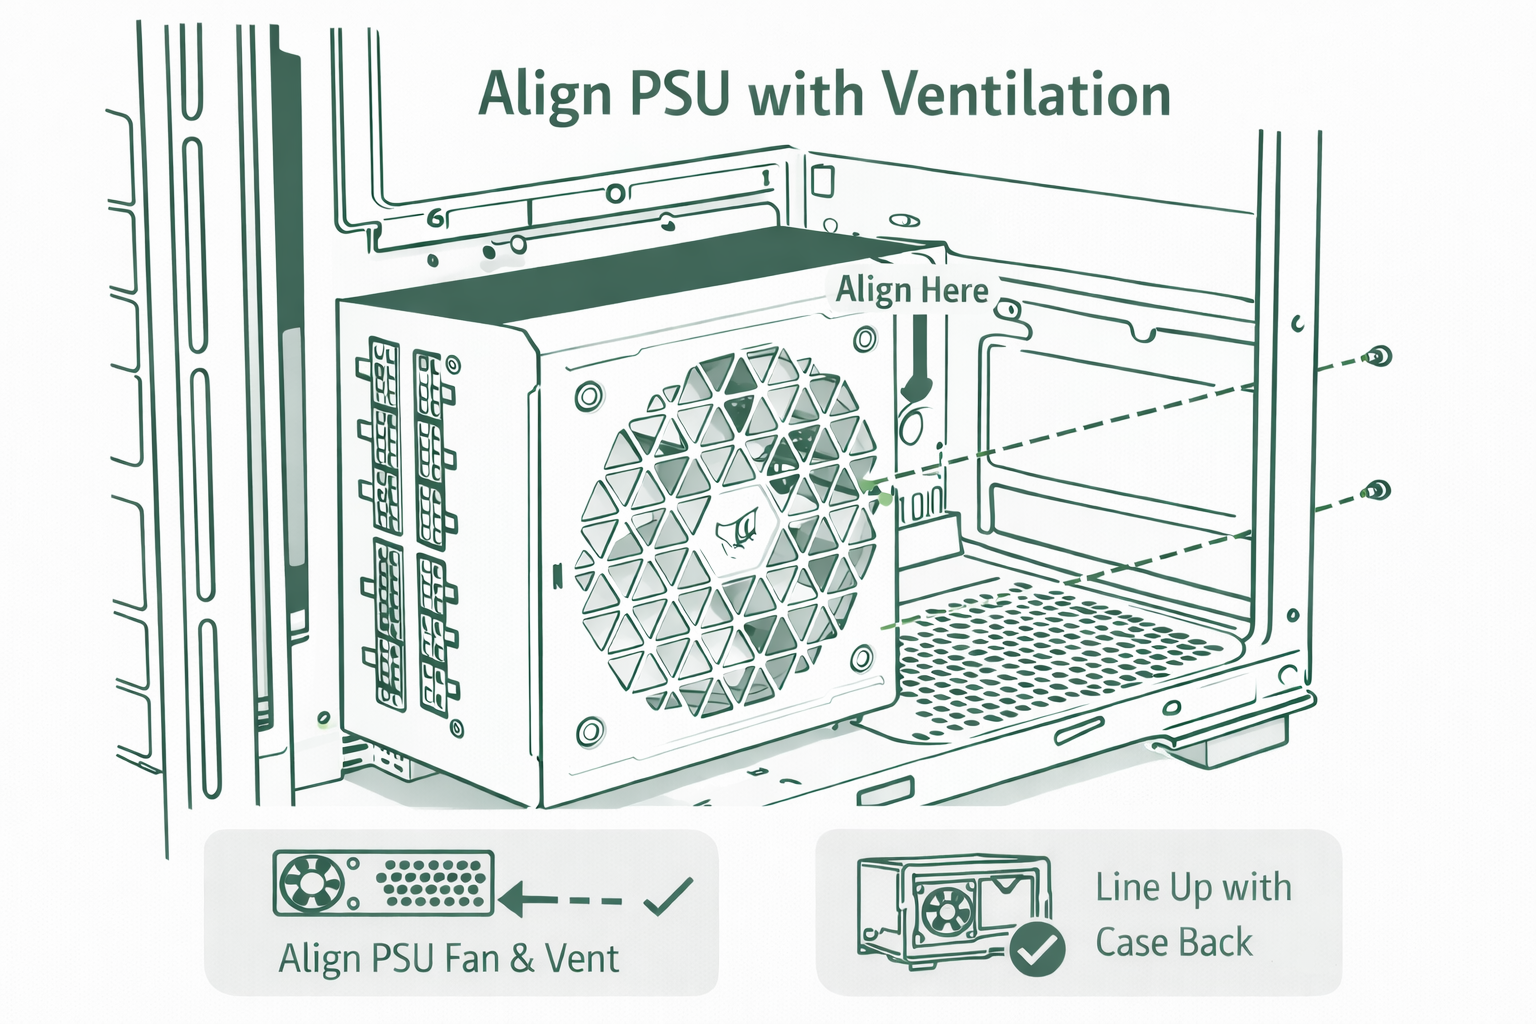
Step 3: You've got the power!
Now for the fun stuff! Next up is adding the big, flashy components that make your PC look more like a PC. We'll start with the power supply. What power supply you need depends on what components you have selected for your PC. You will need to make sure you've picked a good-quality PSU with enough wattage to power everything inside. We have quite a few that work well with our motherboard bundles, but if you want to be certain, use a power supply calculator.
.png)


Some PC cases come with a dedicated bracket for your power supply. If that's the case for you, the bracket needs to be screwed on to the back of the PSU. If you have a modular PSU, connect all the cables and connectors before screwing it in. You then need to decide where the power supply fans point. The screw holes of the PSU should indicate the best cooling direction, and the case should also have dedicated ventilation areas built into it, so it should be easy enough to line everything up with the fan pointing toward the outside of the PC. You can then screw everything in place.
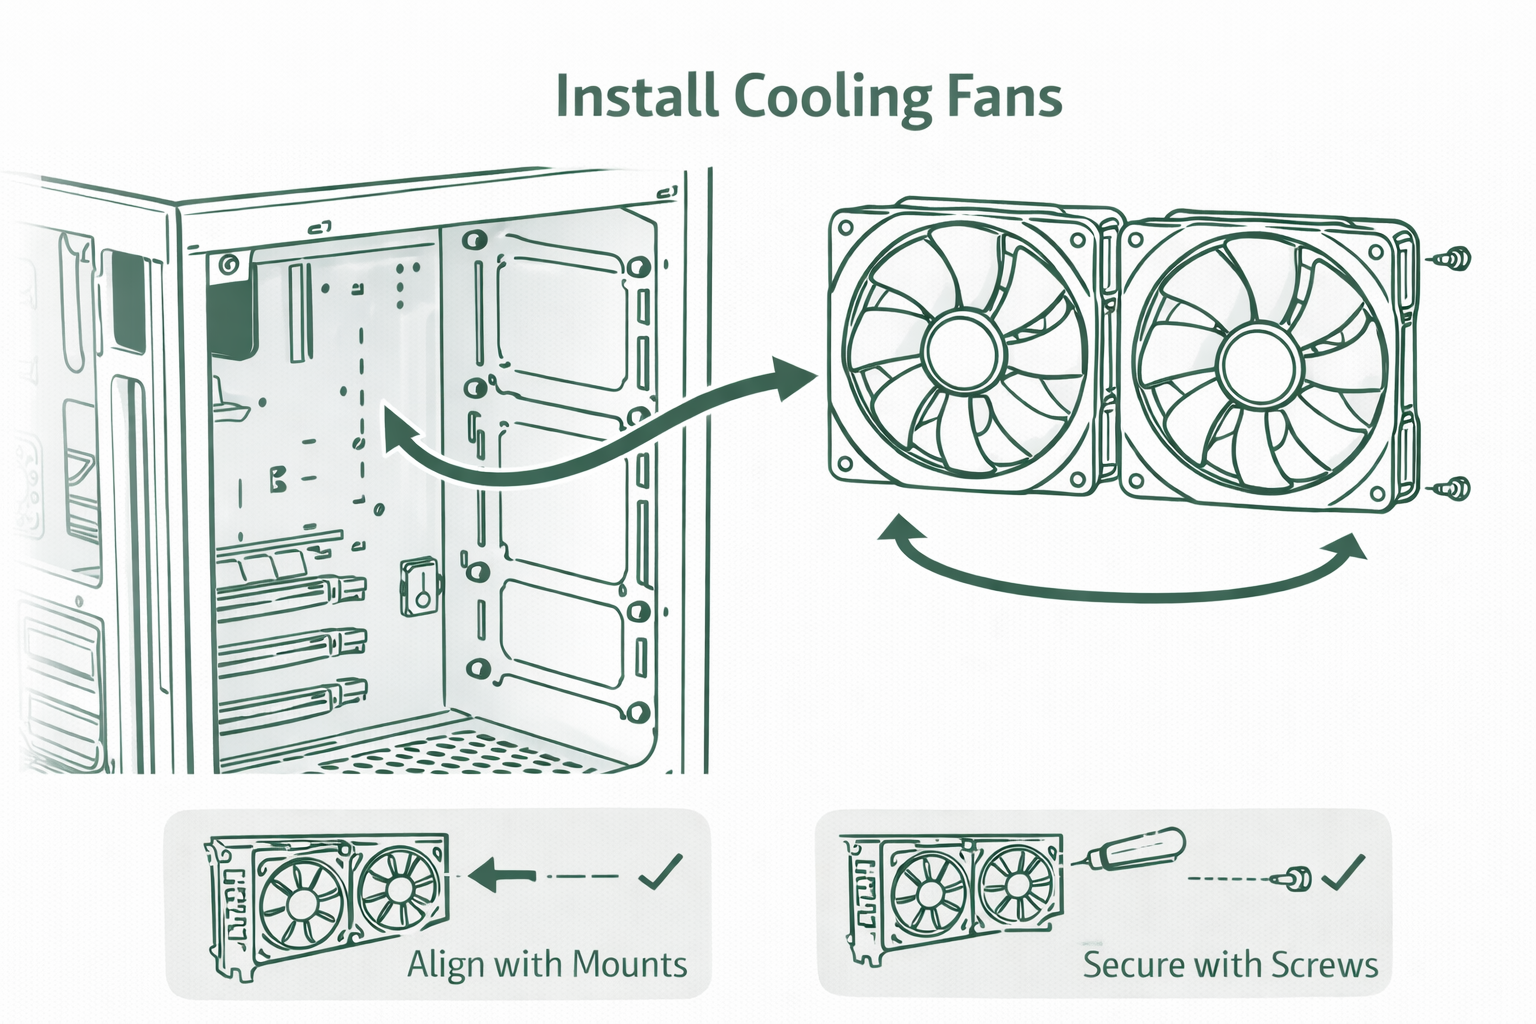
Step 4: Keeping things cool
Your CPU, graphics card, and motherboard all generate a significant amount of heat. If your PC overheats, it can cause serious damage to your system, so if you're adding extra cooling to your build, you'll want to install that next. Keeping your PC cool is critical for peak performance. If you’re looking to level up your PC and secure that extra peace of mind, adding extra fans or coolers is the way to go, and better yet, they can really enhance the look of your PC. The cooling system is where you'll find all the RGB lighting, or different coloured liquids for liquid cooling.
At CCL, we offer a complete range of coolers, including RGB fans, reverse fans for brand enthusiasts, and advanced liquid coolers; however, installing a liquid cooler should probably have its own guide. Adding a cooler means you can not only be sure that your PC will last but also that it will look stylish and uniquely you.

Fans come in a wide range of sizes, so before doing anything, you'll want to check what size fan your case supports and where they can be installed. Once you’ve confirmed compatibility, installing fans is usually quick and easy; no engineering degree required. The first thing you need to do is think about the direction of the airflow. Front and bottom fans are your cool-air heroes pulling fresh air in, while rear and top fans act as exhaust, pushing hot air out. Establishing this will help you determine where to put the fans. Once that's done, screw the fans into place, making sure the little arrows on the side are pointing the right way, then plug the cables into your motherboard or fan hub. Easy! Now you can enjoy the satisfying hum and glow of a system that’s cooler, quieter, and looking amazing.
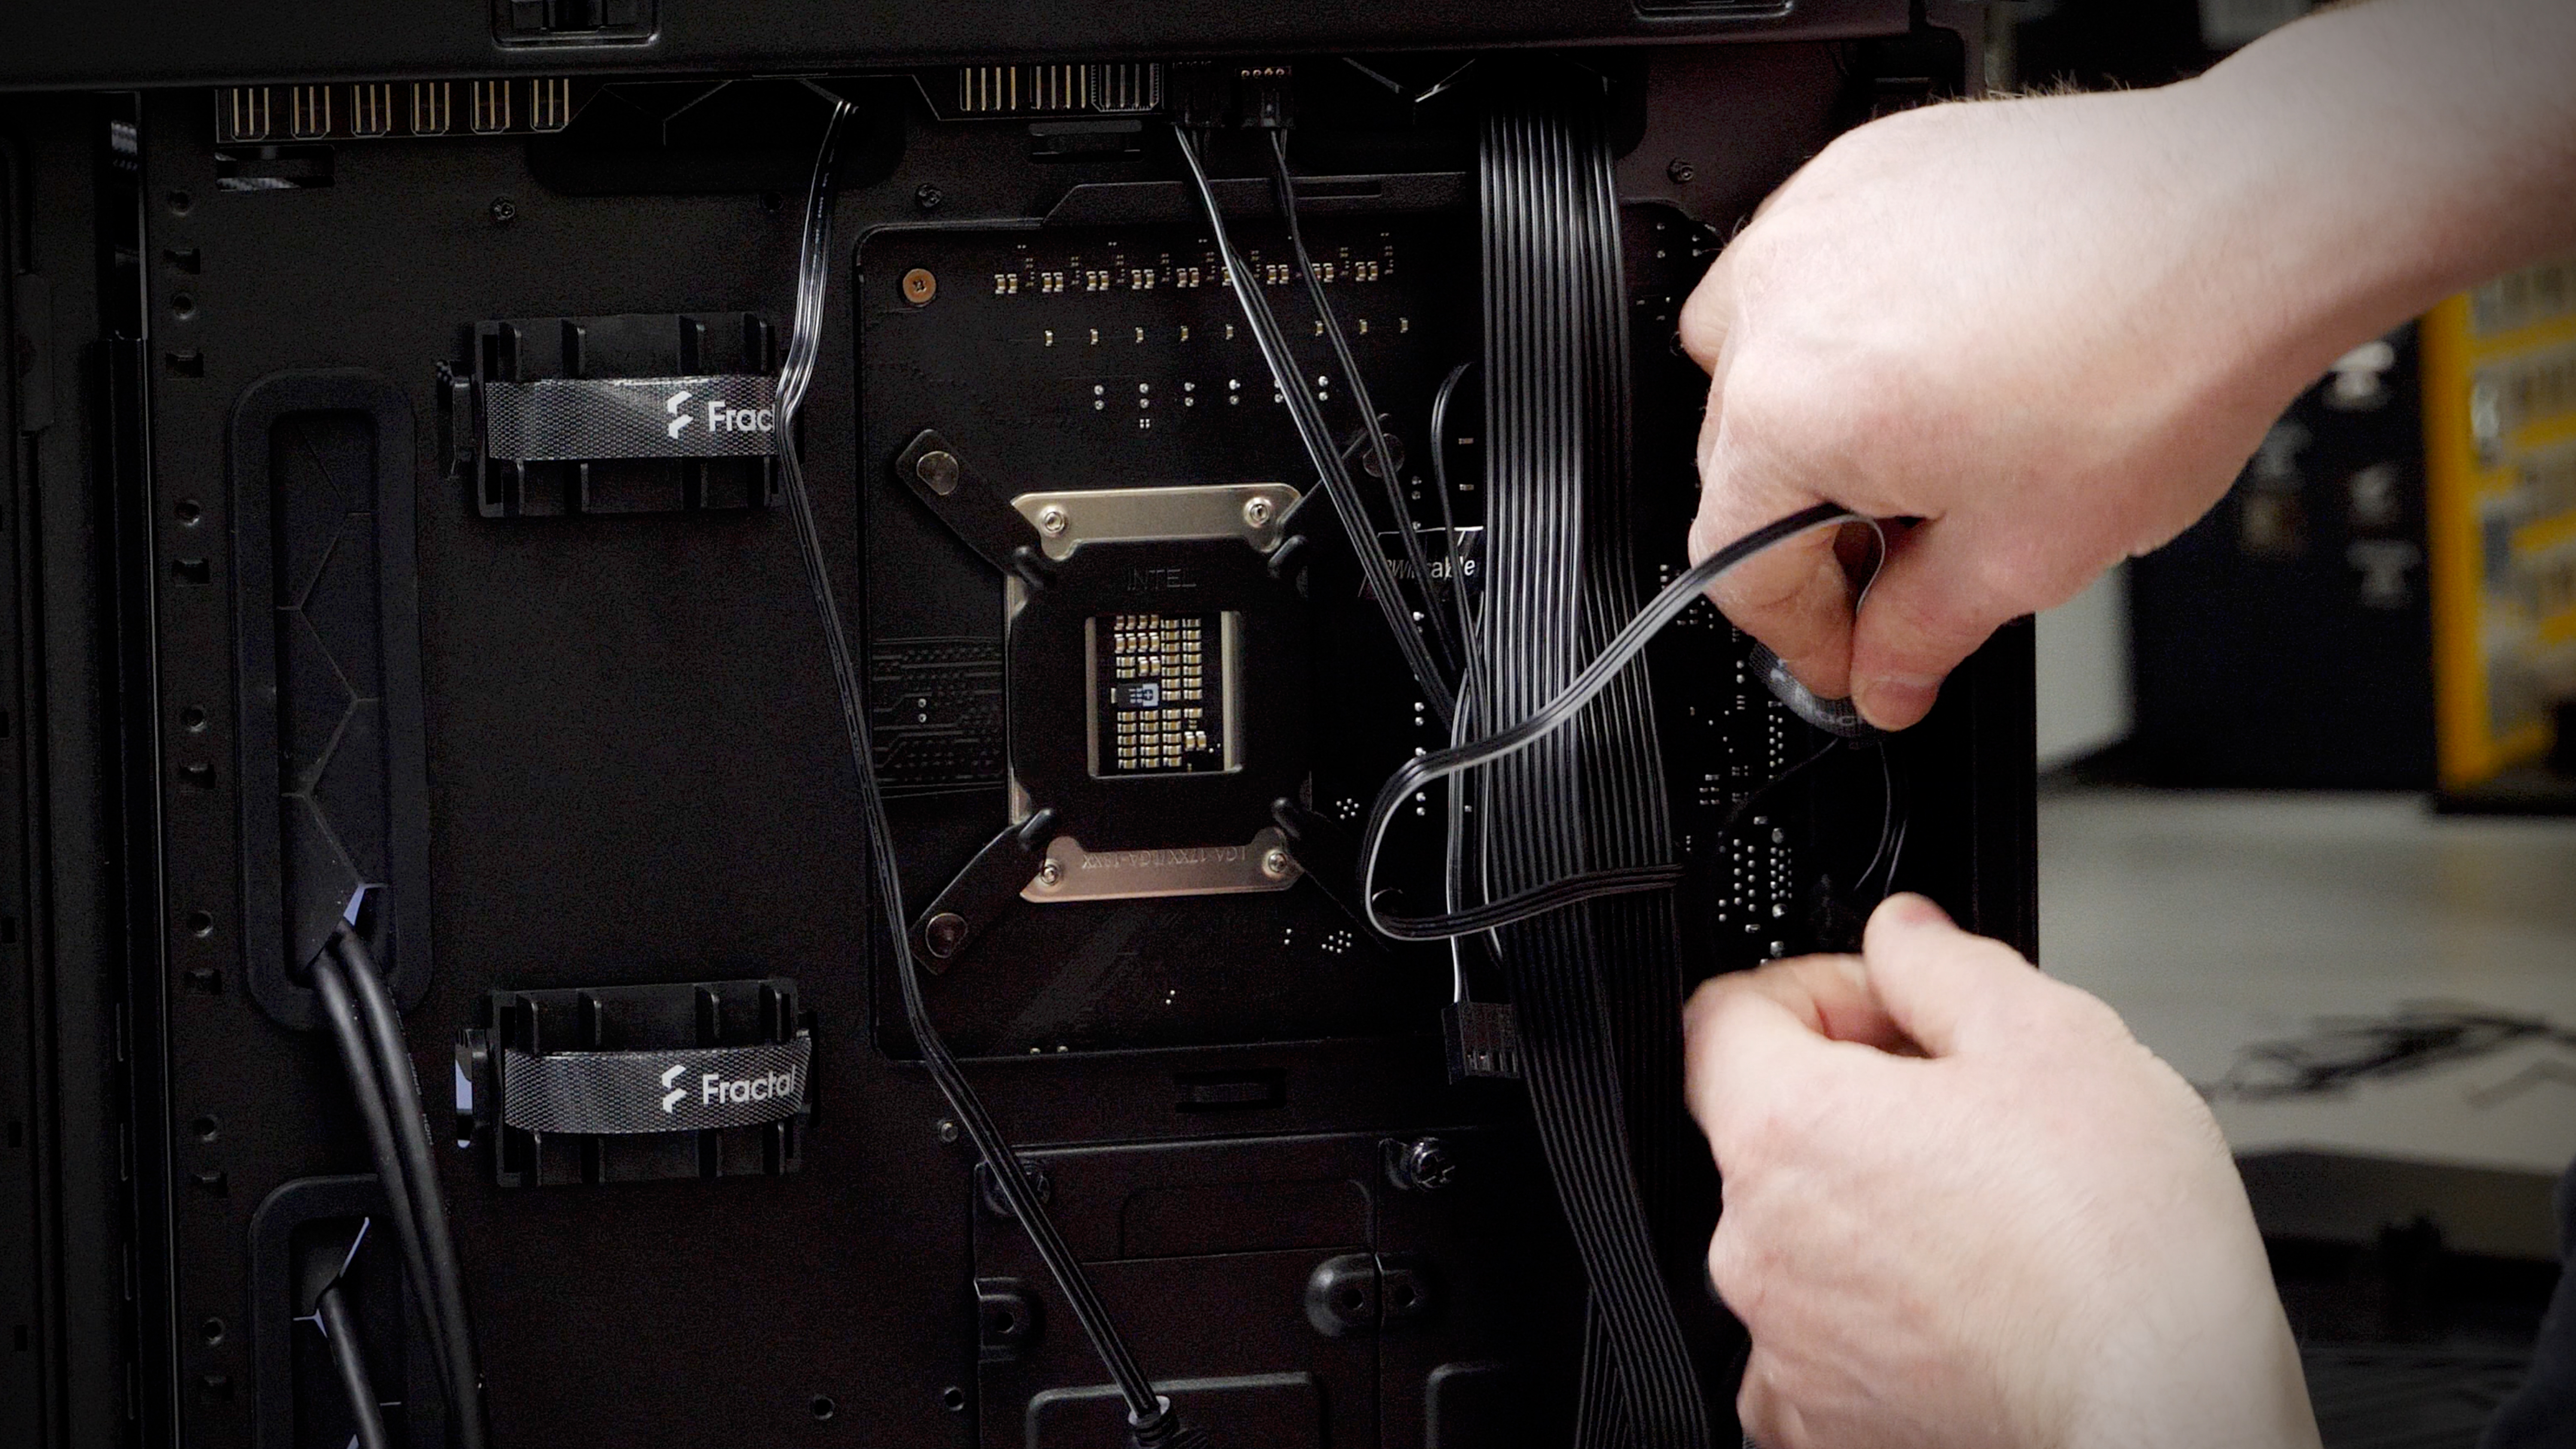
Step 5: Get connected
This step can be challenging, so it's essential to have your motherboard manual handy. You'll need to connect all the cables from the case to your motherboard, and since many of them are small and often fragile, you'll need to be extra careful. The slot for your PSU should be large and pretty obvious when you see it, but for everything else, your motherboard manual is your best friend!
After everything is plugged in and connected up (not to the mains, but to each other), take some time to use those cable ties to tidy up. Not only will this help with the airflow, but it will also make your PC look way cleaner and actually make it easier to clean!
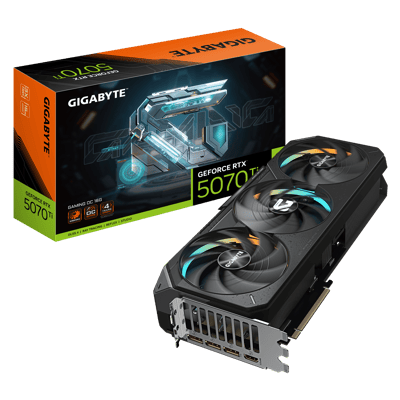
Step 6: Locked, loaded, and ready to render
And last but not least, it's finally time for the main event! The pièce de résistance. The graphics card. The irony that your graphics card tends to be one of the most visible parts of your PC isn't lost on us here at CCL, so we know you need a GPU that not only performs, displaying your games in their peak settings, but that also looks good inside the case. We've selected a few of our favourites for you to take a look at!

.png)
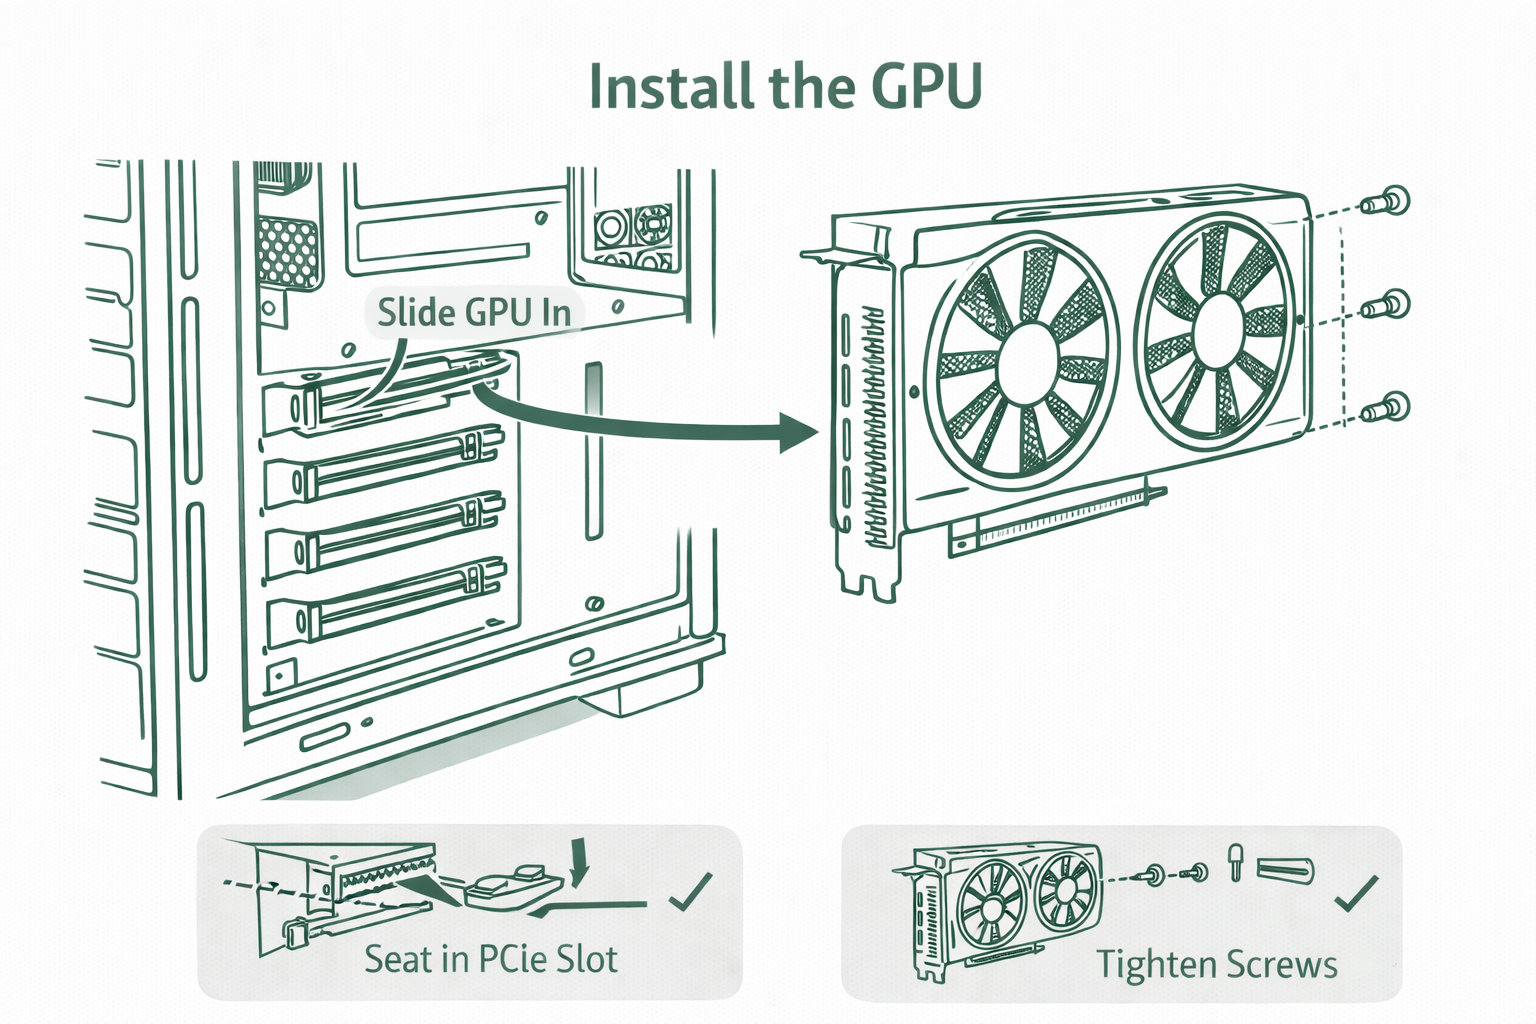
To install the GPU, you must fit it into one of PCIe slots. You'll want to find the slot at the back of the case, nearest to the CPU. Remove the top PCIe slot(check that manual for how many) and slot your GPU in. Screw it in place. The retaining clip will flick up to tell you if it's locked in. Then just plug it right into the power supply and you're done!
Step 7: The finishing touches
Finally, plug in your peripherals, including the keyboard, mouse, and monitor. Make sure the monitor is plugged into the GPU, not the motherboard. Ensure that all components are plugged in correctly, and then you should be ready to boot up your new gaming PC. If it turns on, that's the hard part done, and you should be good to go with getting everything installed, such as your operating system, drivers, etc. Screw in the case panels to close everything up, and you have yourself a gaming PC! Congrats!
Start your PC project the smart way
Building your own gaming PC is incredibly rewarding, and it's easy to build and adapt a PC that caters entirely to your needs. You get a system that performs the way you expect and the added satisfaction of knowing you built it yourself. With the right guidance and the right parts, it’s way easier than it first appears.
That’s exactly where things like our motherboard bundles make a real difference. By pairing fully compatible CPUs, motherboards, memory, and coolers, built and tested by our expert team, the biggest hurdle for first-time builders is gone. And better yet, when you buy through CCL, you can be sure that everything works in tandem with our built-in compatibility checker, checking that the parts in your basket actually work! You can spend less time worrying about compatibility and more time enjoying the process of the build itself.
And right now, there’s even more reason to jump into PC building. We're currently running a deal where you get 10% off motherboard bundles with code MOTHER10, making an already practical choice even better in value. Or, if you would rather select the parts yourself, you can buy 3 components and get 5% off, which is ideal if you're picking up multiple parts in one go.
Whether this is your very first gaming PC or a long-overdue upgrade, these offers make 2026 the perfect time to begin. Build with confidence, save money where it counts, and enjoy a smooth, reliable gaming setup that’s ready for everything ahead.